
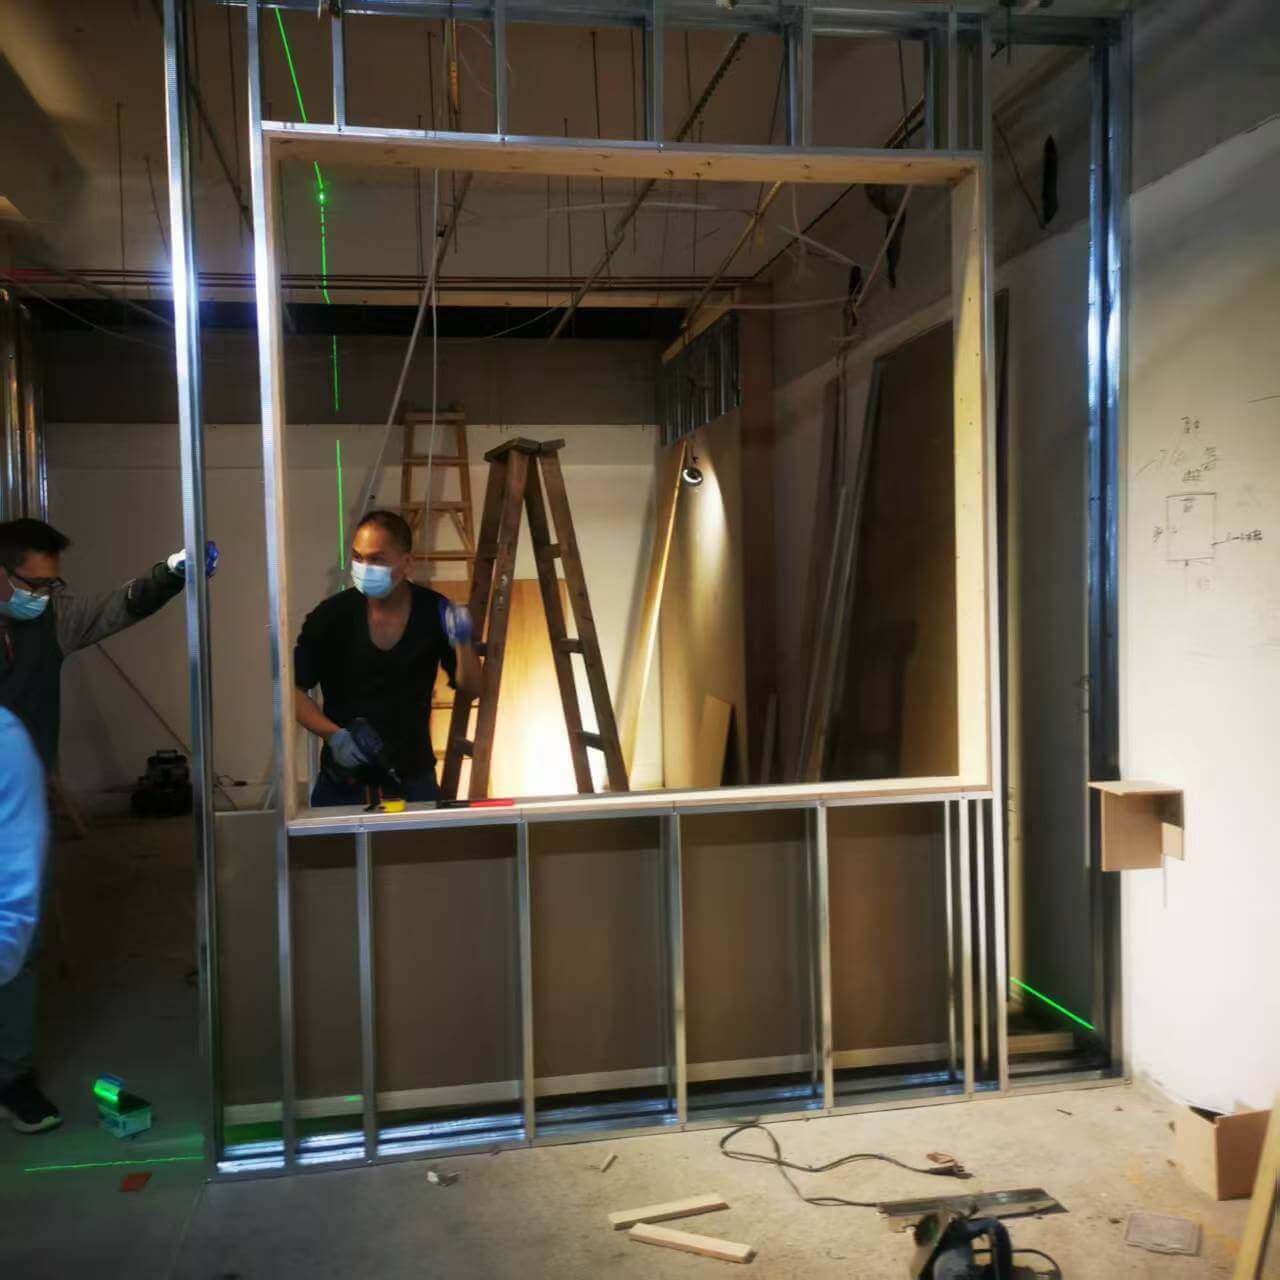
A hotel mockup room is one of the most useful quality control steps in a…
The Ultimate Hotel Furniture Installation & Maintenance Guide for 5-Star Projects
When executing a luxury hospitality project, delivering flawless custom pieces is only half the battle. The real test lies in the hotel furniture installation. Even the highest-quality materials can lose their 5-star appeal if poorly assembled or mishandled on-site.
As a leading custom hospitality furniture manufacturer, CH Furniture has compiled this definitive guide. Whether you are a project manager or an on-site contractor, these factory-direct techniques will help you assemble, adjust, and maintain pieces with absolute precision.
1. Pre-Installation Checklist for Custom Hospitality Furniture
Before reaching for your tools, preparation is essential. Rushing into assembly often leads to damaged veneers or missing hardware.
Review the Blueprints: Familiarize your team with the structural design and hardware specifications provided in the manual.
Inventory Check: Sort all components and verify quantities.
Handle with Care: Never kick or force parts into place. Always use a rubber mallet for wooden dowels to avoid surface bruising.
Glass Handling: When installing frosted glass, ensure the frosted side faces inward.
Secure Hardware: For drawer guide rails, always lock them in with a minimum of three screws for commercial-grade stability.
2. Troubleshooting Common Assembly Issues
Even with precise manufacturing, minor on-site adjustments are a standard part of hotel furniture installation. Here is how our experts handle them:
Uneven Cabinet Door Gaps
If you notice irregular spacing between wardrobe doors, the fix is in the hinges. You can vertically or horizontally realign the doors by adjusting the internal screws on the hinges. (Note: Installers must fully understand the 3D adjustability of modern hardware.)
Misaligned Drawer Faces
Drawer gaps can ruin the sleek look of a vanity or nightstand.
For side-to-side gaps: Insert thin shims behind the guide rails on the wider side.
For top-to-bottom gaps: Adjust the vertical mounting height of the guide rails.
Loose Backboards
A wobbly backboard compromises the entire structural integrity of a wardrobe. This usually happens if the backboard slot is cut slightly too deep or the board itself contracted due to climate changes. The Solution: Pad the slot with thin shims to ensure a tight, rigid fit.
3. Pro Tips: How to Repair On-Site Furniture Scratches
During large-scale commercial transport and hotel furniture installation, minor impacts or climate-induced hairline cracks can occur. You don’t need to return the piece—here are our factory-approved repair methods:
Method A: Fixing Minor Scratches (Wax Stick Method)
For superficial surface damage:
Melt a color-matched furniture wax stick using an electric soldering iron. (Apply thermal paste around the scratch to prevent heat damage to the surrounding veneer).
Fill the gap with the melted wax. Let it dry for 2-3 minutes.
Scrape off the excess wax, blend the color smoothly from light to dark, gently buff with steel wool, and spray a light topcoat.
Method B: Repairing Deep Gouges (Epoxy Putty)
For chipped edges or incorrect drill holes:
Clean all loose paint and wood splinters.
Mix epoxy putty (color-matched to the wood) and fill the void within 3 minutes.
Once cured (4-7 minutes), shave it flush using a utility knife and sand with 320-grit sandpaper.
Apply a clear primer, use color powder or a touch-up pen to meticulously recreate the wood grain, and finish with a gloss topcoat to match the original sheen.
Method C: Fixing Loose Joints
Apply specialized wood glue into the loose joint and secure it with an iron clamp for 2 to 4 hours. For a faster hold, industrial instant glue can be used. Wipe away excess glue immediately, sand the dried area, and touch up the paint.
4. Managing Wood Color Discrepancies
Wood is a natural material, and humidity changes during shipping can occasionally cause slight color variations. To uniform the finish:
Mix thinner, retarder, and alcohol with the specific color essence (Red, Yellow, Black, or White) used in the original base.
Using a white cotton cloth, wipe the mixture evenly along the direction of the wood grain.
Once matched, clear any residual dust. A slight fog may appear, but it will naturally dissipate over a short period.
Partner with CH for Stress-Free Hotel Projects
Successful hotel furniture installation relies heavily on the engineering quality from the factory floor. At CH Furniture, our pre-assembled testing and stringent QC ensure that on-site assembly is as smooth as possible.
Looking for a reliable B2B hospitality furniture supplier that understands both design and ground-level execution?
Explore our Global Hotel Project Portfolio or Contact Our Expert Team today to discuss your next 5-star development.
Related Posts